Yes, You Can Start Cello in 2021! (How to Adapt to the Pandemic and Start Online)
Happy New Year!
We are finally out of 2020 and now is the time to make good on that resolution to start learning the cello.
When I started learning from scratch 13 years ago, I remember feeling pretty confused and, looking back, everything from choosing a cello to choosing my first teacher was pretty much random and haphazard.
I was diving down rabbit holes on YouTube and Google, and what I would have wanted was a single resource that simplified and explained the whole process.
So that’s what I want to do for you today.
We are still in the middle of a pandemic, however, so we’re going to have to do some things a little bit differently than we normally would.
For that reason I’m here today to give you a quick, 3 step guide on how to get started learning cello today online. So let’s dive right in, starting with equipment.
Step One: Equipment
Equipment is a category that can be pretty overwhelming, especially for someone who has little to no experience with string instruments.
It can seem a little bit like we’re putting the cart before the horse: you want me to pick out all my equipment before I even know how to play cello??
The good news is that you only need 5 essentials to get started:
Cello
Bow
Rosin (applied to the hair of the bow to improve grip against the cello strings)
Rock stop (used to anchor the cello’s endpin so that it doesn’t slide around while you play)
Music Stand
Let’s call items 3-5 accessories that you will need to buy separately. At the bottom I have unaffiliated links to the brands that I recommend.
First things first, for the vast majority of people I highly recommending renting your cello and bow to start.
There are multiple reasons why renting is better than buying. If you want a more in depth explanation as to why, please click below to download my free e-book:
In it I discuss the various reasons why you should consider holding off on buying right off the bat. So, when I say renting, I’m talking about the cello and bow.
**Please note some rental packages include a cheap cake of rosin so check before buying your own rosin.
So, let’s talk about how to rent your first cello and bow. There are basically two options:
Rent from a shop local to you
If there’s a reputable violin shop in your hometown I would recommend going that route.
As your interest in cello blossoms into a lifelong pursuit, you will want a relationship with local experts who can help you any time a problem arises.
Also, if anything goes awry with your rental, you don’t have to jump through the hoops of packaging and shipping your instrument through the mail.
Here in Los Angeles, I would recommend Benning Violins.
They currently have a rental rate of $65/month, which includes a cello, a bow, and a carrying case.
And since they have such a high standard, you can rest assured that each rental instrument will be ideally set up with a good set of strings and a bridge that fits perfectly.
Rent your equipment online
If the current pandemic has you understandably nervous about making non-essential trips to brick and mortar stores, or if it just sounds easier in general, your second option would be to order your rental outfit online.
I recommend using sharmusic.com. Their actual store is located in Michigan, but they have been shipping throughout the US for years and have a great reputation. I regularly order strings and accessories from them.
Currently, their most modestly priced rental costs ~$52/month and here again you get a cello, a bow, rosin, and a carrying case.
And the best part is that it will be delivered right to your doorstep!
Step Two: Find a teacher
Okay, so we figured out equipment, now let’s find you a teacher.
To learn an instrument like the cello, I truly believe you need good instruction.
If you are in the same boat that I was 13 years ago, you might not know exactly what to look for in a good teacher, so let’s talk about how to get a few candidates, and then we’ll discuss how to pick a winner.
The simplest way to get started is to hit up your contacts.
Family, friends, anyone you know who plays a string instrument or has a child learning violin or cello.
A personal recommendation is a great way to go to get started.
If no one comes to mind, then the next step would be a google search, “cello lessons [your hometown],” and see what comes up.
After the pandemic is over, you will probably want to be taking lessons in-person so finding someone local to you will be a plus.
Now, if you seem to be living in relative isolation from any tantalizing options, don’t worry.
One of the very few bright sides of this pandemic is that most teachers, including myself, have been teaching almost primarily online. So you can always find a teacher who isn’t local to you and get started online via Skype, Zoom, or Facetime.
You may be wondering if Zoom or Skype lessons even work for something like learning the cello.
I can assure you they do!
I have started students during the COVID-19 pandemic who have only studied with me online and they are doing great and progressing rapidly.
If a good in-person lesson is a 10/10, I would say that a good online lesson is still an 8.5/10. The most important thing is to get started!
So, once you have narrowed it down to 2-3 candidates, I would go ahead and contact each of them. A good teacher is going to be more than happy to chat on the phone and introduce himself/herself.
Here are 3 things to ask your potential teacher to get a good understanding of his/her style:
Do you have experience teaching adults?
If someone seems like they teach children almost exclusively, that may be a sign that you should keep looking (more on why below).
2. Do you teach adults differently than you teach kids?
You want the answer to be yes.
As someone who was an adult learner and now specializes in teaching adults, I can say that my approach is vastly different than the approach I take when teaching kids.
For example, I find that with kids, at least %50 of the job is dedicated to battling their short attention spans and trying to retain their focus.
With adults, on the other hand, attention span is usually not an issue but I find that focusing on ergonomics and reducing physical tension while playing is a topic that crops up early and often.
You want a teacher who can help you learn to play beautifully and comfortably.
3. What materials do you use to teach adults?
As adults, I think it’s important that we enjoy the music we are using to learn to play the cello.
For that reason I personally stay away from the Suzuki Method books, for example, because I find the music of the first two books geared towards children.
Here are the books I loved using as an adult learner and that I love to use (along with many other sources) when teaching.
The Piatti Cello Method (Books 1&2) -
As a student I found the collection of etudes in these books fun to play and also musically satisfying.
I didn’t feel like I was playing Twinkle Twinkle Little Star, but real cello pieces, which helped keep my enthusiasm and motivation high in those initial months.
Also, the etudes are in the forms of duets, so that you can play them with your teacher and experience the wonderful feeling of making music with another person right off the bat.
The first time I played one of these etudes as a duet, the hair on my arm was standing straight up! I remember being so thrilled and awe struck but also nervous that I was going to mess up and derail this amazing experience.
After that moment I was completely hooked.
Position Pieces by Rick Mooney
This is an excellent book that clearly maps out the left hand positions from 1st through 4th positions, with and without left hand extensions.
The pieces are short and highly effective, and for cellists earlier on in their journey, it’s also a great way to refresh the geography of the fingerboard after a long holiday or extended break from playing.
I should mention one more option regarding finding a teacher to get started.
I recently finished an online course that I’m proud of called Cello in 30 Days.
It’s based on my own experience starting the cello at age 25 from scratch and it’s designed specifically for you, the adult beginner, to get your best possible start.
Cello in 30 Days is comprised of 30 sequential lessons that will take you all the way from not knowing how to hold a cello properly to playing 3 different pieces and 4 scales with a beautiful tone.
I’ll be with you every step of the way with helpful demonstrations and for those of you with hectic schedules….it’s on demand, so take a lesson anytime night or day, whatever works for you!
Along with 30 lessons, I include a bunch of other bonus materials designed to help you get off to the best start possible.
Step 3 - What Can I Start Today
In the spirit of this article, let’s talk about what you can do to get started on your cello journey today, before your rental cello has even arrived and before you’ve arranged to have your first lesson.
When I started my journey, I couldn’t read music and my ear was completely untrained.
Looking back, these two aspects really slowed my progress unnecessarily. I want you to benefit from the mistakes I made by not addressing these two areas of music theory right off the bat!
Below I have links to two training tools that will help you gain proficiency.
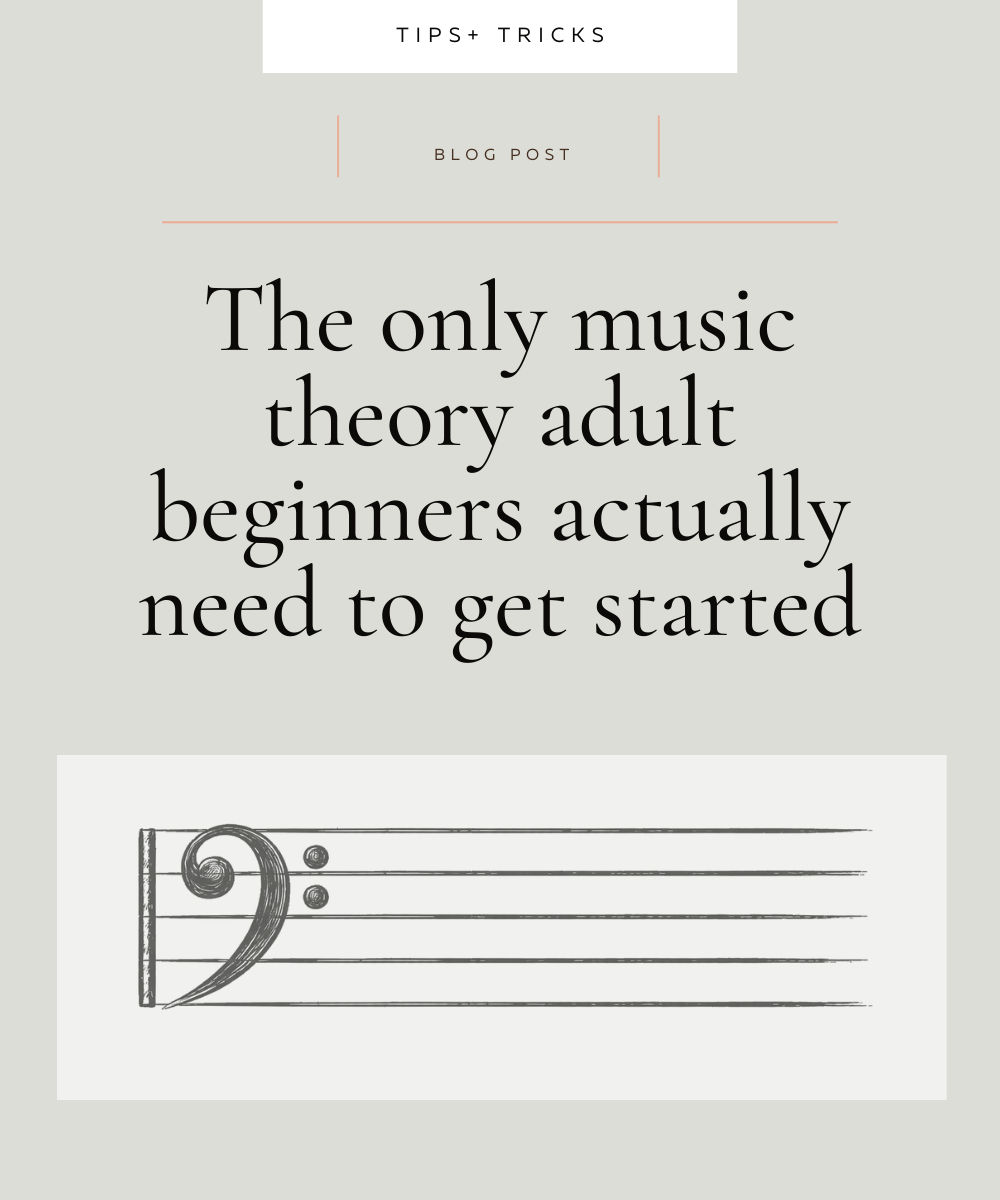
The first is a simple flash card game that will teach you the notes of the bass clef. Training a few minutes a day will teach you to read the notes of the bass clef in no time.
The second is a training tool that tests your ability to hear musical intervals. An interval is the distance in pitch between any two notes.
You want to be able to hear two notes (even eventually played at the same time) and be able to say, “Oh, that’s a perfect fifth,” or “That’s an octave!” etc.
Interval ear training will help you enormously with intonation and shifting as you learn to play the cello!
So there you have it!
Get your equipment, find your teacher, and start training today while you wait for that rental outfit!
I want to reiterate that at the end of the day, any of the options I presented to you will get you off to a good start.
Don’t worry too much about finding THE absolute best rental cello or THE absolute perfect teacher.
The important thing is to get started. Learning to play the cello is a long, wonderful journey and there will be plenty of opportunities for course correction along the way.
Links to my recommended products:
Rental Cello and Bow from Shar